Wednesday, July 11, 2012

Wraps

Hello readers,
I know I haven't been posting often lately. Well, my job is tiring a bit, and I think I'm developing a habit of sleeping after coming home from work.

At any rate, here is a simple recipe for yummy sardine wrap. It's sturdy enough that you can toss it into your bag after just using cling wrap.

To make it, gather:

  • Lettuce
  • Wrap /torilla of choice
  • Canned cooked sardine
  • Sun dried tomatoes
  • Cream cheese
First, make a spread out of your sundried tomatoes and cream cheese. This can be done by cutting up the tomatoes into itty bits, then mixing into the cream cheese.

Next, spread what you just made onto the wrap (which should be lain flat on a cutting board). Make sure that your spread is an inch or more away from the edges. Next, lay your fish in the middle, you should only need to use two of them. After, just fold and roll it and you're done. This is confusing to explain, so I will add pictures tomorrow afternoon. I'm still drowsy right now.

Another good combo for a wrap is lettuce and hot dog with hummus. Just be sure to dry the lettuce with paper towel before you add it, otherwise you end up with a soggy mess.

Keep it cookin!!

Sweet Pea

Sunday, July 8, 2012

Cream Puffs

My dear reader,

I must confess that I am only making the puffs of cream puffs, sans cream. I totally made a delicious filling.

They are quite good on their own admittedly, I just ate one. It was savory goodness.

I used Jaden Hair's recipe, as featured on her blog, here, for the pate a choux (or choux) dough.

The recipe is as follows:
  • 1 cup water
  • 1 stick of butter
  • 1 cup of flourDanielle
  • 4 eggs (large) or 1 cup of eggs
  • pinch o' salt

I like how making the dough is different, because you cook in a sense. This type of dough starts in a pot on a stove. I placed my butter and water into a saucepan (which I wouldn't suggest, in retrospect) and let it come to a simmer (that is, after the butter is all melted). Also, when the butter is simmering, if the water gets to the surface it will boil rapidly. (Prepare to be blinded by SCIENCE!!!) The water has a lower boiling point, so by the time the butter starts simmering, the water is already prepared to boil, and furiously.

A sea of butter


Once it gets to this simmering point, it's time to add the flour. I stirred with wooden spoon (wooden utensil highly recommended for minimal mess) in one direction until the flour sopped up all of the liquid and yielded a squishy dough.


Add the eggs one by one, and don't worry if its real slippery at first. They get incorporated eventually. Each time you add an egg, keep stirring it in until the mixture returns to its original doughy texture, then add the next.

I used a template to ensure mine came out at a similar 1.5" diameter. To pipe them, take a ziploc bag, stand it up in a container like a cup, and fill. Then snip off a corner, small one, and squeeze in one spot until you have a blob to a size of your liking.

I used a ruler and right triangle tool--the one in geometry sets


This method is highly recommended ;O

If you don't bake it all at once...you can store the dough like this.

The tips burn easily...

So wet your finger...and smush them down


The blobs are baked at 425 degrees for 10 minutes, then at 325 degrees (all Fahrenheit) for 18 minutes more (or longer if your puffs are bigger, up to 30 minutes).


After they came out of the oven, I slit little mouths into them, to let out steam and help them cool.


A close up...if you were here...you'd smell butter :)


Once they are cool, I used a pack of instant chocolate pudding mix, but reduced the milk from 2 cups to 1 3/4 cups. After mixing, I immediately put it into a baggie, as I did with the choux dough, and let it set. After it set, I snipped off a teeny corner, 2 mm, and fed the puffs the pudding...and viola!! Delicious chocolate cream puffs. Pictures will be added.

Stay cool!!

Sweet Pea

Saturday, June 30, 2012

Cute Carrot Rice

Carrot Flowers.
Yes,  that's our main ingredient my dear reader, Carrot Flowers.

How do you make carrot flowers? Well, if you're not exactly pro with a knife, a cutout is they key to success. I bought these japanese ones for about 2$, really cheap and so much faster for me than cutting it with a knife.

Bit sturdier than a cookie cutter
They're a bit taller than the average cookie cutter, and only the bottom is shaped, as you can see.

All you need is:
  • Rice
  • Carrots ( one per every 2-3 cups of cooked rice)
And a few seasonings, to enhance the flavor:
  • Soy sauce
  • Sesame oil
  • Salt

First, wash and peel your carrot. Then cut the carrot into coins that are about 1-3 millimeters.

When you have these coins, then cut out your flowers, either with cutters, like mine, or with a knife. Keep the cut out scraps.

Then stir fry them with some soy sauce, sesame oil, and salt. There should be very little sesame oil used, only as much as a small spoonful, and there should not be so much soy sauce that the carrots turn very dark. Cook them until they are no longer crunchy, but still firm. The carrots should look tanned, but not dark. Salt to taste and remove from pan. Your carrots should look like this:


After stir frying the flowers, take the bits of leftover carrot pieces from the cut outs and chop them into little bits, like this:

Cook them in the same way that you cooked the flower shaped ones, and once they are done, add your rice to the pan, and stir it while it cooks.


Once it's done, garnish with the flower carrots, and you're done!!


Hope you enjoy this recipe as much as I enjoyed writing it :)

Sweet Pea

Friday, June 29, 2012

Japanese Cuisine Adventure: Day 2

Hey readers,

Today is the second day of my japanese cuisine adventure. Just so you know, I removed the kombu after letting it sit in water overnight for kombu dashi (aka the following morning).

Big news, today I graduated!! Also, I met someone named Sho. Apparently it's a popular name.

Also, mirin was bought. It smells like sweet nothing.


Today I decided to make simmered taro, from the book I mentioned on the last post. I followed Shinojima's recipe:


  • 12 taro roots (except here, I only had 6...)
  • 1 heaping tbsp of salt
  • 3 cups dashi (I used kombu dashi)
  • 1/2 cup mirin
  • 2 tbsp sugar
  • 1/2 cup soy sauce
  • 8 snow peas (I omitted this since I forgot to buy it  >__<')
Note: I simplified the instructions.

Mix everything except for the taro and snowpeas together, and if you mix them in this order, you will see some interesting science: 

Wash your taro and then chop off the ends. After this, make 6 vertical rounded cuts so that you have an inflated hexagonal cylinder...if you don't get me, this picture should help.


After you do this to all of your taro, place into pot of water and heat to a boil, rub stickiness off taro with hands, and repeat with fresh water. Then boil one last time until it is easy to pierce with a skewer, determined with a bamboo skewer in photo.


After this stage is reached, drain the taro and put the dashi mixture into a pot on medium flame. Once this boils, place taro into the pot, gently, and reduce heat so that it is simmering. Simmer for 5 minutes.


Turn off flame and allow it to cool in the liquid. When you are ready to serve, you may place it in a dish with some of the liquid from the pot.

Tasty <3

I didn't want to waste the rest of the stuff, but I didn't know how to use it either...so I made my own type of noodle broth with it!! And I ate some udon noodles.

Here's how to recycle the rest of your sauce:


  1. Make a mix of 2 parts water 1 part sauce.
  2. Boil udon noodles, or similar noodles to be eaten in broth. Follow package directions. When done, strain and place noodles into serving bowls.
  3. Boil fishballs. I added a ladle of the sauce (used for boiling taro) to the water for flavor.
Frozen and little and still.

Ready to eat, and looks puffy when lid lifted...they roll around...even after the flame is off...you should see this.
Once this is done, add some of the fishball water to the noodle bowls, just enough so that it almost covers that noodles. Then add the fishballs and the watered down sauce (now I would say it's broth).


nom noms <3 so tasty

Itadakimasu!!

Sweet Pea

(PS-this post is a couple days late, sorry guys xP I actually wrote it monday)

Saturday, June 23, 2012

Japanese Cuisine Adventure: Day 1

Hello readers,
It's officially summer. It's so hot. Thank goodness for the thunderstorm last night, otherwise I would have to resort to living in my cold basement for the rest of summer, and living on water.

I've decided to start making japanese food, following some recipe's of Sabi Shinojima's Authentic Japanese Cuisine: For Beginners.

I decided that I wanted to start with simmered dishes. So that starts by making Kombu Dashi.

All you need is some Kombu Dashi seaweed, and water.

She gives a helpful tip for measuring; if you know the size of your hand span, then it makes for easy reference. Mine is about 6".


I took 5" piece of the kombu dashi, wiped it down with a damp paper towel on both sides, then placed it in 6 cups of water. Then I put the bowl of water and seaweed into my fridge to sit overnight. It was that simple.

5 inches/12 cm of dashi kombu seaweed

wipe

let sit overnight


All I did today was prepare the Kombu Dashi, tomorrow, I will do some simmered dishes.

(Though it would be incorrect if I said that's all I did, I made sushi and tempura too. My tip is to use 3mm thick slices of eggplant, it tastes sweet and refreshing. Also, my mom used enoki mushrooms for tempura too, and it was good. Just separate them into little bunches of 3 or less stems, place them in tempura batter, and fry them in bunches like a nest of mushrooms.)

Enoki mushroom tempura looks like modern art :O
Or something from underwater

Cucumber triva: Cucumbers glisten when you cut them :D


The adventure continues...

Until then, stay hungry :)

Sweet Pea

Sunday, June 17, 2012

Mint Cookie Experiment

Hello readers,
Last time I talked about mint, I was making tea. Now the mint is shooting up, everywhere. Seriously, there's so much I doubt that I will use even half of it in the months to come. My mom likes it in salad, but I think that mint cookies would be interesting. So I made some.


Mint-tastic
I went outside, and snipped some mint, a lot more than I needed. My mom gave me a good piece of advice: I won't know how it will taste, so better to make a little bit just in case it tastes...unpleasant. So now I am using a small portion of this mint, the rest can be tea.


Wash mint how you wash rice
To be blogged about at a later date
There's raspberries too, in the garden. I'll do something about those in a later post.


Note: This recipe was originally experimental, so it makes a small batch of small cookies. Approximately 2 1/2 dozen cookies that are all about the size of a half dollar.


[Edit] It made exactly that amount for me :D I feel like a psychic!! [/Edit]


As I was saying, I used:

  • 10 grammes of mint leaves
  • 25 grammes of sugar
  • 30 grammes of butter
  • 1 egg
  • 1/8 teaspoon of salt
  • 1/2 teaspoon of vanilla extract (kind of option, I would suggest it but if you choose not to, that's fine(?))
  • 50 grammes of flour
  • 1/4 teaspoon of baking powder
Heat your oven to 350 degrees Fahrenheit.

Take your mint leaves and place them in your food processor, aim for the smallest pieces you can, little shreds.


In a bowl, mash your butter and sugar with a fork until they are fully incorporated with each other. Then add your mint bits, and fold in with a silicon spatula. Use the spatula to mix in the rest of the ingredients from here on out--you don't want your mint shreds to become mint mush.

Prankster ravioli filling?
Add your egg, salt, and vanilla and mix. It doesn't have to be fully incorporated, but it's not pretty. It looks like a weird soup...I won't show you the picture because it's a bit too graphic @_@

It will look like this after adding everything
Add your flour and baking powder, then fold in until it's fully incorporated. Then drop by small spoonfuls onto a baking sheet covered in parchment paper. I use sundae spoons for this, two of them. One to scoop, and one to get the cookie mix out of the other...does that make any sense? If I made it more confusing, sorry, just ignore that part. Be sure to space your cookies an inch apart, and also the heaps/spoonfuls should be about an inch wide and an inch tall when on the baking sheet (prior to baking).


Bake them for 8 minutes. They will look funny, like this:

The middle one is amazingly round...
They taste good and the texture is cake like.
And if you really want to, here's a theoretical recipe for mint icing:
  • 10 grammes of little shreds of mint leaves (aka mint leaves that met a food processor)
  • 90 grammes of powdered sugar
  • 1 tablespoon of hot water
Mix and it [may] make delicious mint icing :D
If it's too wet, add more sugar. Too dry? More water, but do it a drop at a time, trust me.


Kitty!!

Note: These cookies taste good and refreshing...and they're not intensely minty, more like a mint suggestion. Also, one of them got shaped like a cat. I thought that one was cool.

Well, I guess we would wrap up here guys...
IF NOT FOR DOUBLE MINT MADNESS EXPERIMENT, bwa ha ha!!

I also decided to try making mint chocolate cookies

For this, I used:
  • 35 grammes of sugar
  • 30 grammes of butter
  • 1 egg
  • 20 grammes of mint leaves
  • 1/8 teaspoon of NaCl [salt]
  • 1/2 teaspoon of vanilla extract
  • 40 grammes of flour
  • 30 grammes of cocoa powder
  • 1/8 teaspoon of baking powder
I changed the amount of certain ingredients, it's more minty to say the least.

Same directions as before, and add the cocoa with your flour, but place the egg and mint in the food processor at the same time for this run.

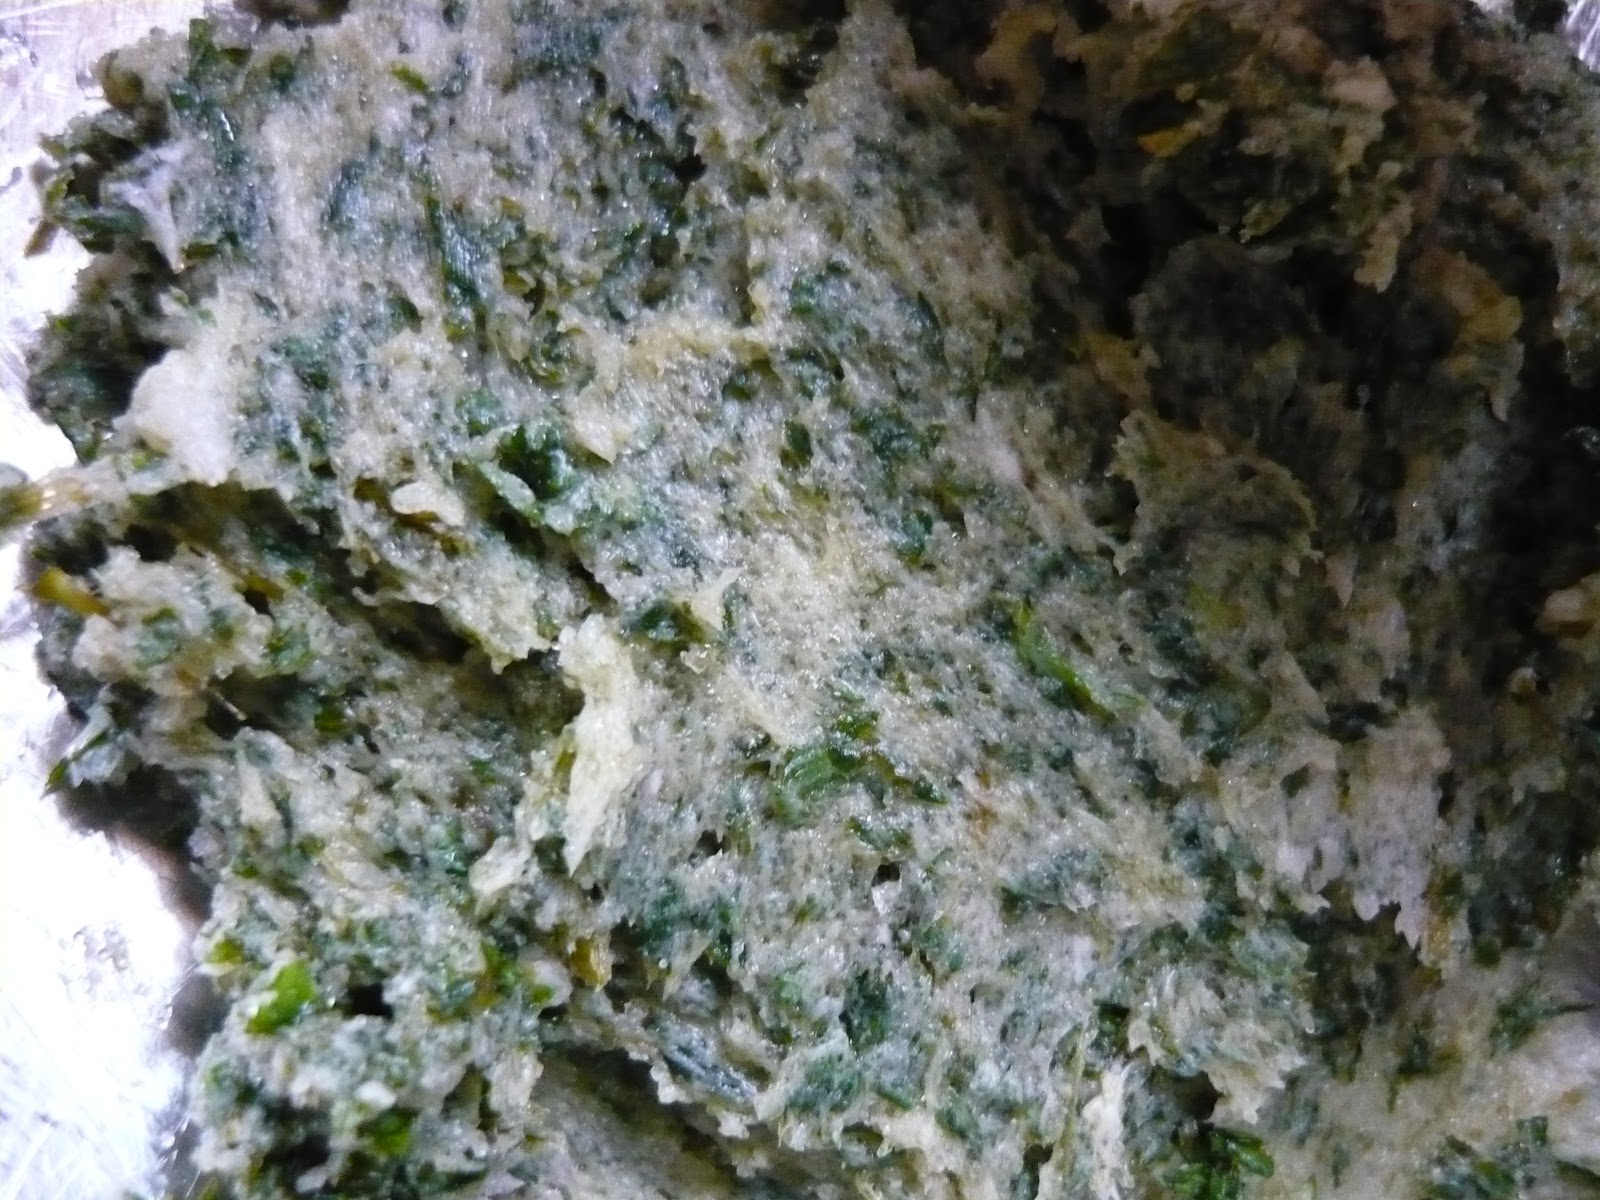
Note: The mint egg mix will be a muddy green color, don't worry about it, mint leaves have that pigment in them...I don't know why, it's just like that and it's harmless.

Same temperature, bake time, and spacing as the last. The dough will look like this:
Thick 'n' pasty
And the cookies will be a bit denser and look like this. Richly chocolate flavor, and the mint is more prominent as a very fresh aftertaste.


As an afterthought, these recipes may work well with a spritzer.

Cheers,

Sweet Pea

Friday, June 15, 2012

Sweet and Savory Short-Ribs

Hello readers,
Does anyone like sweet and salty food?

If you do, you should try my recipe for sweet and savory short ribs. They're good paired with rice, since they're really flavorful. You can marinade them overnight or you can just sauce them up before cooking them.

Start with:
  • 1/2 tsp of sesame oil
  • 1/2 cup of light brown sugar
  • 1/3 cup of soy sauce
  • 1 tbsp of  oyster sauce
  • 1/4 cup of sweet chili sauce
Whisk these ingredients together, and you have your sauce!! Then just place the ribs into the sauce, overnight or otherwise, and fry them in a wok to your preference of doneness.

If you put the extra sauce in with the ribs, you can use it as extra flavor to add to rice or any other side.

Sauce it up guys!!

Sweet Pea