Showing posts with label chocolate. Show all posts

Sunday, July 8, 2012

Cream Puffs

My dear reader,

I must confess that I am only making the puffs of cream puffs, sans cream. I totally made a delicious filling.

They are quite good on their own admittedly, I just ate one. It was savory goodness.

I used Jaden Hair's recipe, as featured on her blog, here, for the pate a choux (or choux) dough.

The recipe is as follows:
  • 1 cup water
  • 1 stick of butter
  • 1 cup of flourDanielle
  • 4 eggs (large) or 1 cup of eggs
  • pinch o' salt

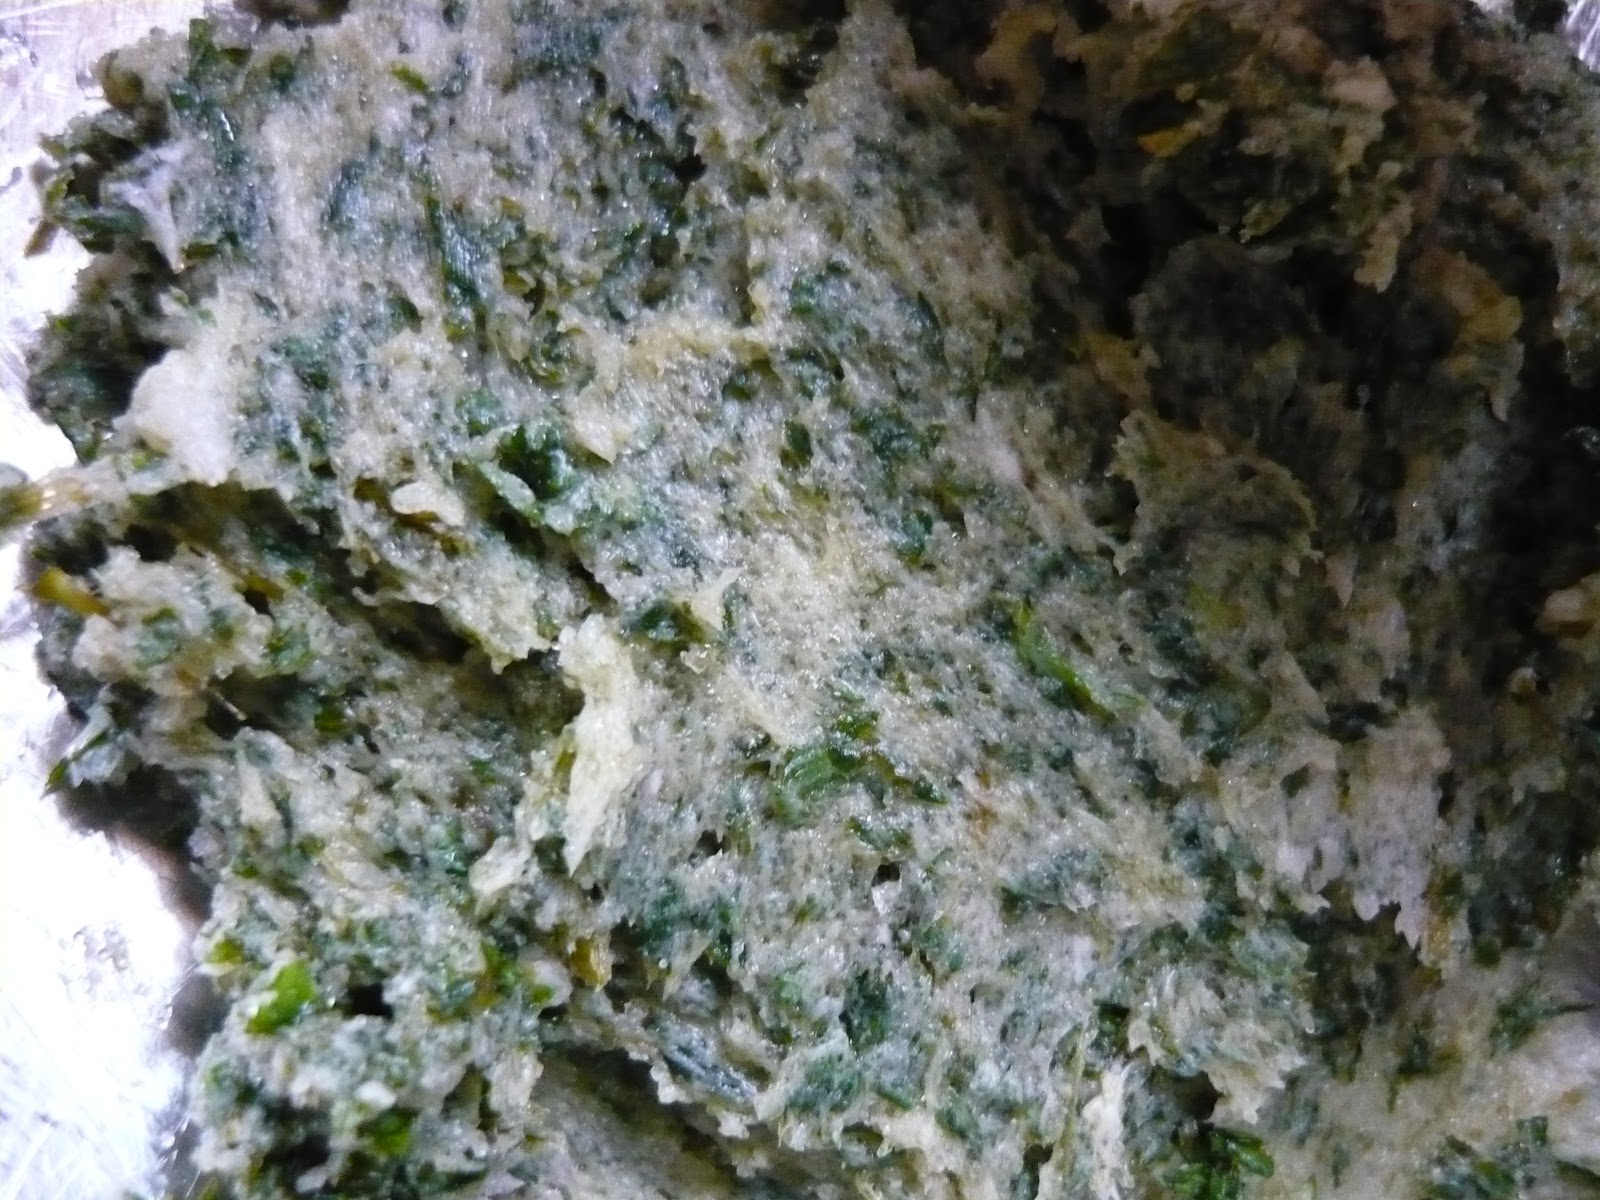
I like how making the dough is different, because you cook in a sense. This type of dough starts in a pot on a stove. I placed my butter and water into a saucepan (which I wouldn't suggest, in retrospect) and let it come to a simmer (that is, after the butter is all melted). Also, when the butter is simmering, if the water gets to the surface it will boil rapidly. (Prepare to be blinded by SCIENCE!!!) The water has a lower boiling point, so by the time the butter starts simmering, the water is already prepared to boil, and furiously.

A sea of butter


Once it gets to this simmering point, it's time to add the flour. I stirred with wooden spoon (wooden utensil highly recommended for minimal mess) in one direction until the flour sopped up all of the liquid and yielded a squishy dough.


Add the eggs one by one, and don't worry if its real slippery at first. They get incorporated eventually. Each time you add an egg, keep stirring it in until the mixture returns to its original doughy texture, then add the next.

I used a template to ensure mine came out at a similar 1.5" diameter. To pipe them, take a ziploc bag, stand it up in a container like a cup, and fill. Then snip off a corner, small one, and squeeze in one spot until you have a blob to a size of your liking.

I used a ruler and right triangle tool--the one in geometry sets


This method is highly recommended ;O

If you don't bake it all at once...you can store the dough like this.

The tips burn easily...

So wet your finger...and smush them down


The blobs are baked at 425 degrees for 10 minutes, then at 325 degrees (all Fahrenheit) for 18 minutes more (or longer if your puffs are bigger, up to 30 minutes).


After they came out of the oven, I slit little mouths into them, to let out steam and help them cool.


A close up...if you were here...you'd smell butter :)


Once they are cool, I used a pack of instant chocolate pudding mix, but reduced the milk from 2 cups to 1 3/4 cups. After mixing, I immediately put it into a baggie, as I did with the choux dough, and let it set. After it set, I snipped off a teeny corner, 2 mm, and fed the puffs the pudding...and viola!! Delicious chocolate cream puffs. Pictures will be added.

Stay cool!!

Sweet Pea

Sunday, June 17, 2012

Mint Cookie Experiment

Hello readers,
Last time I talked about mint, I was making tea. Now the mint is shooting up, everywhere. Seriously, there's so much I doubt that I will use even half of it in the months to come. My mom likes it in salad, but I think that mint cookies would be interesting. So I made some.


Mint-tastic
I went outside, and snipped some mint, a lot more than I needed. My mom gave me a good piece of advice: I won't know how it will taste, so better to make a little bit just in case it tastes...unpleasant. So now I am using a small portion of this mint, the rest can be tea.


Wash mint how you wash rice
To be blogged about at a later date
There's raspberries too, in the garden. I'll do something about those in a later post.


Note: This recipe was originally experimental, so it makes a small batch of small cookies. Approximately 2 1/2 dozen cookies that are all about the size of a half dollar.


[Edit] It made exactly that amount for me :D I feel like a psychic!! [/Edit]


As I was saying, I used:

  • 10 grammes of mint leaves
  • 25 grammes of sugar
  • 30 grammes of butter
  • 1 egg
  • 1/8 teaspoon of salt
  • 1/2 teaspoon of vanilla extract (kind of option, I would suggest it but if you choose not to, that's fine(?))
  • 50 grammes of flour
  • 1/4 teaspoon of baking powder
Heat your oven to 350 degrees Fahrenheit.

Take your mint leaves and place them in your food processor, aim for the smallest pieces you can, little shreds.


In a bowl, mash your butter and sugar with a fork until they are fully incorporated with each other. Then add your mint bits, and fold in with a silicon spatula. Use the spatula to mix in the rest of the ingredients from here on out--you don't want your mint shreds to become mint mush.

Prankster ravioli filling?
Add your egg, salt, and vanilla and mix. It doesn't have to be fully incorporated, but it's not pretty. It looks like a weird soup...I won't show you the picture because it's a bit too graphic @_@

It will look like this after adding everything
Add your flour and baking powder, then fold in until it's fully incorporated. Then drop by small spoonfuls onto a baking sheet covered in parchment paper. I use sundae spoons for this, two of them. One to scoop, and one to get the cookie mix out of the other...does that make any sense? If I made it more confusing, sorry, just ignore that part. Be sure to space your cookies an inch apart, and also the heaps/spoonfuls should be about an inch wide and an inch tall when on the baking sheet (prior to baking).


Bake them for 8 minutes. They will look funny, like this:

The middle one is amazingly round...
They taste good and the texture is cake like.
And if you really want to, here's a theoretical recipe for mint icing:
  • 10 grammes of little shreds of mint leaves (aka mint leaves that met a food processor)
  • 90 grammes of powdered sugar
  • 1 tablespoon of hot water
Mix and it [may] make delicious mint icing :D
If it's too wet, add more sugar. Too dry? More water, but do it a drop at a time, trust me.


Kitty!!

Note: These cookies taste good and refreshing...and they're not intensely minty, more like a mint suggestion. Also, one of them got shaped like a cat. I thought that one was cool.

Well, I guess we would wrap up here guys...
IF NOT FOR DOUBLE MINT MADNESS EXPERIMENT, bwa ha ha!!

I also decided to try making mint chocolate cookies

For this, I used:
  • 35 grammes of sugar
  • 30 grammes of butter
  • 1 egg
  • 20 grammes of mint leaves
  • 1/8 teaspoon of NaCl [salt]
  • 1/2 teaspoon of vanilla extract
  • 40 grammes of flour
  • 30 grammes of cocoa powder
  • 1/8 teaspoon of baking powder
I changed the amount of certain ingredients, it's more minty to say the least.

Same directions as before, and add the cocoa with your flour, but place the egg and mint in the food processor at the same time for this run.

Note: The mint egg mix will be a muddy green color, don't worry about it, mint leaves have that pigment in them...I don't know why, it's just like that and it's harmless.

Same temperature, bake time, and spacing as the last. The dough will look like this:
Thick 'n' pasty
And the cookies will be a bit denser and look like this. Richly chocolate flavor, and the mint is more prominent as a very fresh aftertaste.


As an afterthought, these recipes may work well with a spritzer.

Cheers,

Sweet Pea

Tuesday, April 24, 2012

Another Chocolatey Adventure!!

Once again I try my hand at making chocolately creation that is sweet and satisfying, as well as affordable!!


This time I am making chocolate chocolate...as in milk chocolate type candy I suppose. The feedback that I received today about my attempt at a simple white chocolate candy was interesting to say the least. My friend told me that it had a unique taste that could not be described, but good nonetheless. I was also told that it looked like soap...I guess that this means it has potential for some good practical jokes :)


I think that what people consider chocolate flavor is regional, seeing that my new york buddies said it didn't taste much like chocolate, but a friend who's from hong kong was surprised as she said how it tasted a lot like chocolate (and not like the vegetables [shortening] it's made of). 


Onto the more chocolately attempt today.


I am using a recipe similar to yesterday's with one big change, I added cocoa powder.


It is as follows:


  • 2oz shortening
  • 1/3 cup powdered sugar
  • 1 tsp powdered milk
  • 2 tsp cocoa powder

Step 1: Heat up the shortening. I did this in a microwave oven, and I heated it up for 45 seconds, checked to see how much it melted, and heated it up for an additional 30 seconds. After this it was completely melted so I heated it up 30 seconds more to get it nice and hot...or warm, heat makes it easier to work with. Then I add in the powdered milk and stir.

In this bowl is the melted shortening and the powdered milk 
Step 2: After adding the powdered milk, I sift in the cocoa powder. It was making a pretty cool pattern in the shortening...it was like, ooooohhh :O
When you get a few chunks left, like I did using a fine mesh, you can press the rest through with your finger.

See the pattern in the shortening?
I like to wait for the cocoa powder to melt in as much as it can, I think it makes for a smoother end product...and less stirring x3
Patience, let it melt away...

 Step 3: I add in the powdered sugar, and also let it melt a little...though by this point my mix wasn't as heated as I would prefer it to be, so I popped it in the microwave, covered, for 30 seconds. If the sugar melts really slowly into your mix I suggest you do the same. If you do choose to mix it in while it's only warm or very warm it might come out a bit thick or chunky, possibly uneven in texture.


In the the powdered sugar, looks like coffee to me!!
 Step 5: Now that the everything has been mixed in, quickly transfer the chocolate to the molds. I spoon mine in...and I think I do a good job, not too messy. If you work too slow it starts to thicken up.


Chocolate, freshly spooned in.


Okay, so not perfectly neat either :P
 Now it's time to step back and enjoy the finished product~


The foil effect, makes it look authentic!!

Here are the rest of the chocolate, happy family of chocolately love~


I hope that you enjoy reading about the chocolate as much as I enjoyed making them!!

Till next time,
Sweet Pea


Monday, April 23, 2012

PROJECT CHOCOLATE~

Made with Sweet Pea's love <3


I call today's adventure in the kitchen...PROJECT CHOCOLATE~
[insert dramatic music here]

WARNING: THE END RESULT IS NOT CHOCOLATE, I REPEAT, NOT CHOCOLATE, JUST SIMPLE AVERAGE QUICK TO MAKE CANDY (so please don't make nasty comments on how it's not chocolate, or how it's misleading...it's merely my attempt to create something that tastes like chocolate)

I always wanted to try making some quick 'n' simple white chocolate, since I heard that the lower end of white chocolate can be made with veggie oil or other fat substitute, so today I did--on a whim. Whimsical Sweet Pea, makes chocolates whenever the mood hits~

I looked around on the internet, and came up with a general recipe:

2 oz vegetable shortening
1/3 c powdered sugar
1/2 tsp powdered milk
dash of vanilla

Note: This is my own recipe that I made after browsing through a few other recipes and deciding how I wanted my chocolate to turn out, also, it's not really chocolate...if you try the recipe and post about it, please link to this post :)


Step 1: Heat up shortening in microwave for 1 minute, and then 30 seconds (and cover it)

Step 2: Stir in sugar and powdered milk until relatively smooth

The result of step 2--I stirred with a knife

Step 3: Wait a little for it to cool until it's no longer steaming hot, but still liquid-like and then pour into your mold (actually, I spooned mine in)

All poured, be sure to work fast

Here's a close up!! [Silicon mold]

Step 4. Once cooled completely, pop 'em out!!

Finished Product!! Yum! (it tasted far from chocolate :/ but still tasted pretty good :] )

Maybe this should have been candy on a budget? XP

And about the bubble tea...

BUBBLE TEA, CHEF'S LOG: DAY 3, TAPIOCA SUPPLIES RUNNING LOW...TEA DEPLETED.