Saturday, May 12, 2012

Zinfandel Cake

Hey guys, this week I've been running low on creative cooking juices, so I've been taking suggestions. This one is from Nicole :)


Originally she suggested rum cake, but I haven't any rum in the house, so I've decided to use some zinfandel instead.


The recipe for the cake I'm making is an adaptation, or rather a hybrid, of this Golden Vanilla Cake and Mariann's Easy Rum Cake. It is actually neither of these recipes, but like most of the recipes I use (for now and in the future) it's going to be something of my own creation in the end (:


Letting the butter warm up


I would suggest that you decide to make this cake at least an hour in advance of when you want to start mixing and measuring so that you can take your butter out of your fridge and give it time to warm up to room temperature--also do this for your milk. This makes a huge difference in making the cake, it will be much easier for you. You will need:


  • 1 1/2 sticks of butter (3/4 cups of butter, or about 170 grammes)--I used unsalted, you may use salted if you wish
  • 397g/14 oz./2c of sugar
  • 283g/1 1/4c milk at room temperature
  • 2 tsp vanilla extract
  • 2 1/2 tsp baking powder
  • 390 g/ 3 1/4c of flour
  • 4 eggs
  • 1/2 c of zinfandel or spirit of choice (rum would work as well)
  • 1 package of instant pudding mix, I used vanilla


Note: If you want, before starting to mix the ingredients--but after letting to butter warm up--you can preheat your oven to 325˚ F. I find it's easier using a scale because there is less measuring with cups since you pour directly into the bowl, and to make it less mess I use a big bowl.


Be sure to zero the scale before weighing ingredients


Once your butter is at room temperature, like mine is, then you should add it to the sugar and mash it like mashed potatoes--well, not necessarily mash, but just incorporate it. My weapon of choice is fork :3 You know that it is done once you see all the butter and sugar mixed together.


Add your sugar

Ready for mashing
While mashing, your butter sugar mixture should look something like mine did in these pictures.

Try to break up the butter into smaller chunks

If you mash the butter that's on sugar, they mix together without difficulty

It's so fluffy :D

Once you have a butter sugar mix that looks like mashed potatoes, or whatever you would call that, it's time to add the milk and vanilla, then mix it best as you can...at this point it would switch to a whisk...I did after a while of fork mashing.


Note: Mine didn't come out too smooth, so don't worry if yours doesn't.


That's not pretty...but that's the way it is, think oatmeal.


Now add in the flour and baking powder, and stir gently so that your batter won't be lumpy. I like to start stirring on the side in small circles and slowly make my way to the center of the bowl and start making larger and larger circles. You can stir any way you like, just know that if you beat it your batter is likely to be lumpy.


Here's what I mean:


Starting on the side in a little circle

Making bigger circles now

The flour piles up on the sides, just scrape it down as necessary.


Afterwards, stir in the eggs one at a time. Sometimes the eggs are watery, which makes them easy to mix in, but other times they have a gooey part that is like jelly and harder to mix in--watch out for this and this egg will take longer to mix in completely.


Note: It's good to check your eggs by cracking them into a separate bowl, just in case they smell...fishy...like one of mine did.


The batter is lumpy before the first egg

First egg added, batter smoother, bit lumpy

Second Egg added, batter smoother

Third Egg, batter smooth

Fourth Egg added, so silky smooth!!


The eggs make the batter nicely colored, and also smoother. I add the zinfandel (mine is a white zinfandel from california that smells faintly fruity and sleepy). This will make the batter separate a little bit, but don't worry too much about that. It will be coming together later. My batter was a bit more liquidy on the sides of the bowl so I made inward strokes with my whisk to incorporate the zinfandel more into the batter.


Pour slowly, don't spill

Stir slowly since it's easy for splashes at this point
After adding the zinfandel (or spirits of choice) your batter should look something like this.


Not quite so smooth, but still smooth

This is what I meant by separation, looks a bit like curds


Then I add the instant pudding mix and stir it in gently, just like how I stirred in the flour earlier. After a few minutes of stirring the batter has a uniform yellow color and it is ready to be put into the bundt pan (if you haven't already, preheat your oven to 325˚F).


I use Jell-O pudding, in case you're wondering

Stir gently or else it will be lumpy

Golden color :)


Note: I don't like struggling to get the cake out of the pan, so I sprayed the inside of my pan with cooking spray (every nook and cranny).


If you don't have cooking spray, you can also make a coat of butter inside, and sprinkle a layer of flour over that
Pour the batter into the bundt pan and make sure that the top of the batter is even, otherwise one side of the cake will be taller than the other. Place this into the oven and bake for 55 minutes. You can check if it is ready to take out of the oven by inserting and removing a skewer, and when the skewer comes out clean the cake is ready. If it isn't ready after 55 minutes, it should be ready after an hour.


Tilt the pan left and right to even out the batter


Note: If you use a toaster oven, and the bundt pan fits with less than 3 inches at the top, it's likely that the top will be a little burnt, like mine. This is because the heating element is so close to the cake, and if you're using a toaster oven like I did, it can't be helped. Just saw off this part with a bread knife after the cake cools.


After taking the cake out of the oven, let it cool for 30 minutes and up to an hour. You want the cake to be faintly warm, or not warm at all, when removing it from the pan.


Mine didn't come out of the pan nicely D:
(That's likely because I washed it before spraying it, and the water prevented the spray from forming a complete barrier on the pan--make sure your pan is dry before use folks.)


But it TASTED DELICIOUS <3


Little piece all wrapped up, tender cake.


<3


Happy Eatings,


Sweet Pea

Wednesday, May 9, 2012

Pizza Pita Pockets

Hey guys, once again, a time crunch has fallen on me.
I wasn't sure what I wanted to make today, but I really want to get around to blogging regularly (after all, I'm sure you would like to read about new recipes every week ;] ).


Today we're going to make some quick and easy pizza pita pockets.


You will need:

  • Pita bread
  • Shredded cheese
  • Pizza toppings (bell pepper, pepperoni, sausage, ham, pinapple--whatever you like to be on pizza!!)
First, we grab our bag of pita bread and take one out. Place this onto a cutting board. If you have a pair of kitchen scissors, I would grab these now since they make it much easier, and if not, a knife is fine.

My pita is garlic :)

Is that a...crater? Just kidding :P
 Slice your pita in halves and open them up.


Handy dandy kitchen scissors <3

Pry it open slowly to avoid ripping.
 If you're having trouble, try using a butter knife. Simply insert it into the pita, like in the picture, and wiggle it left and right gently while pushing into the pita gently.

Patience is the key here, wiggle slowly and gently.
Done!! Patience has paid off
 I used mild cheddar for my pita pizzas. Simply take your shredded cheese and fill the pita pocket about 1/3 full with cheese. You may add your toppings now, I chose to have no toppings inside since my pita is already garlic. I'm fine with plain and simple :)
Mild cheddar is flavorful, but not too strrong, in my opinion.
Filling...

...and filled!!
I spy a long strand of cheese :O
 Now place the pita pockets on a microwavable dish, usually glass or ceramic, and place in your microwave.  Cover the dish and microwave for 30 seconds.
Looks like fractions @__@
Prepared to microwave

Covering helps to avoid messes, just in case
 Now that the cheese melted, the pita is flat once more.


Flat and easy to eat
Delicious melty cheese <3
And if you want to have them for lunch the next day, like I plan to do, simply put it into a plastic baggie then place in fridge, and toss into toaster oven next morning. Then wrap in aluminum foil and take it with you :D


Happy eatings!!

Sweet Pea


Saturday, May 5, 2012

Big Taro versus Little Taro

I'm going to talk about the difference in using big taro over little taro in your recipes. Let's start with the last recipe I did where little taro was substituted for big taro.

So here's a picture of the sai mai lo, made with little taro:
Veryyy pale cream color
And here's the sai mai lo I made today with big taro:

Rather purple-y
And it's also harder to mash...and it seems to take a little longer to cook. But in taste, they are essentially the same!! That's all for today's short taro update.

...some more pictures...

Big taro unmashed

Little taro, slightly mashed


Keep on cooking guys!!

Sweet Pea

Friday, May 4, 2012

Quick and Easy Halfmoon Chips

Meet the star of the show today, our friend potato.

Potato has been washed in preparation for its close-up

Did you ever wonder how potato chips are made? I once did, but then again, I watched the cooking channel for a while (Food Network) and now I know how. The way that it is made in TV Land is difficult to do at home if you don't have many fancy gadgets, but luckily, all you need is a knife and potato peeler to make my super easy Halfmoon Chips (:

Some golden half-moon chips
You will need:
  • potato (more potatoes= more chips, so however many potato you wish to have is your choice--I used one)
  • oil (olive, canola, peanut...your choice)
  • knife
  • peeler (like vegetable or potato peeler)


Once our friend potato is washed, we must cut potato in half.


Cut in half across
 And cut the potato once more, this time lengthwise.


Now you have three pieces of potato
 Now peel off a thin piece of potato so that you get a thin half-moon slice of potato. Using a peeler is easier than attempting to slice thin slices, and it also yields very consistent results.


I usually peel from corner to corner, I find it easier.


Peel as many as you wish to have chips


See? Very thin.


Thin as a penny--which is on paper to keep germs off cutting board, just so you know
After peeling as many slices as you want chips heat up 4-5mm of oil in a pan. You don't have to use very much since the potato slices will float, and also they don't sink because they don't weight much and are thin.

Tip: If you want your chips to be salt, add a some salt to the oil beforehand and you want have to salt them after frying.


I use a saucepan, but you can use a pot or even frying pan.
 Let your oil heat up on medium heat for a few minutes, and watch the oil. I use medium heat because if high heat is used, the oil tends to start smoking, and occasionally burning, at the edges of the pan. Once the oil is hot, you can put in your first chip. If it isn't hot enough there will not be bubbles around the chip as it fries, but that's okay, wait until you see bubbles until you add the next chip.


WARNING: HOT OIL AND WATER DON'T MIX; YOUR OIL IS HOT, THE POTATO HAS WATER, PLEASE HANDLE POTATO SLICES WITH TONGS OR CHOPSTICK DUE TO RISK OF OIL POPPING AND BURNING YOU


Note: Please be very careful, I was very careful when making the chips today and was still burned twice by little pops of oil, not severe but rather painful, so be careful. (When I say popping, I'm talking about when water is in oil that results in a very fast forming bubble of oil which pops,  potentially shooting out from the pan.)


I hold the slice at an arms length to reduce risk of getting splashed by oil.
Can you see the bubbles? The oil is hot enough when you see them...also it looks like lemon slices XD
 Once the potato floats, it will be done soon. In total, it takes 3-5 minutes for the potato slice to turn into a chip depending on how hot the oil is and how dark you like your chips. With 3 minutes, I'm going for gold.


It floats!! The bubbles are a good sign.


You can cook several slices at once, as many that will fit in the pan without overlapping.
After 3-5 minutes that potato chip is done and almost ready to eat. I like to let them drain on a wood cutting board for a little bit so that they aren't so oily.


Hello my pretties B)
 You can make as many chips as you want to, just follow the same process.


You may notice that your potato gets more curved as you peel off more slices, don't worry about it.  Just use that bit for something else.


You can see the how the potato went from pale slices to golden chips


Look at the beautiful texture <3
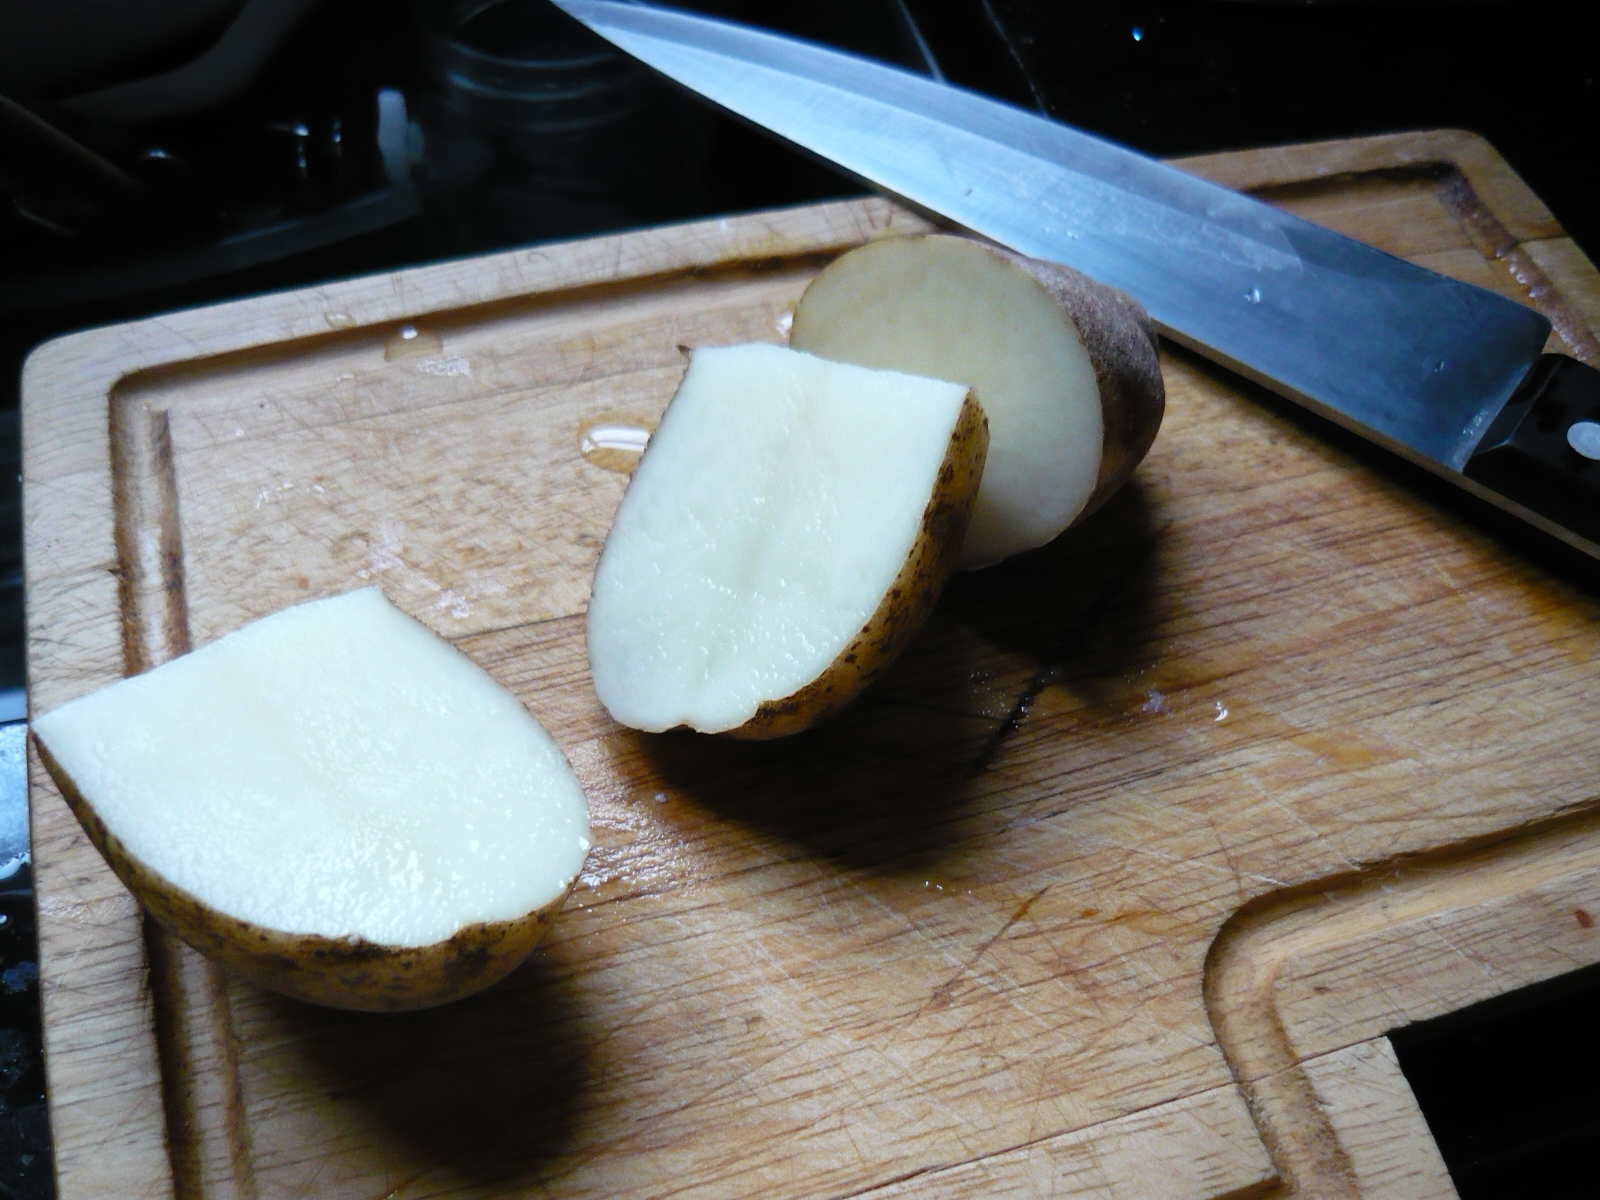
 Once I was done making chips, I cut the remaining potato in half, and tossed it in a pot of soup.


*slices potato*


Into the soup it goes.


Hope you enjoy making your very own potato chips!!

Sweet Pea