Showing posts with label milk. Show all posts

Sunday, June 10, 2012

Steamed Bun: A Steamed Food Experiment

Hello reader, it's only a day late, sorry about that.
So, yesterday, I decided to experiment by steaming an egg, hoping to make something like egg tofu.

The result was really fluffy. Also overcooked. It smelled overcooked. However, it was not burnt. The only thing affected was the smell.
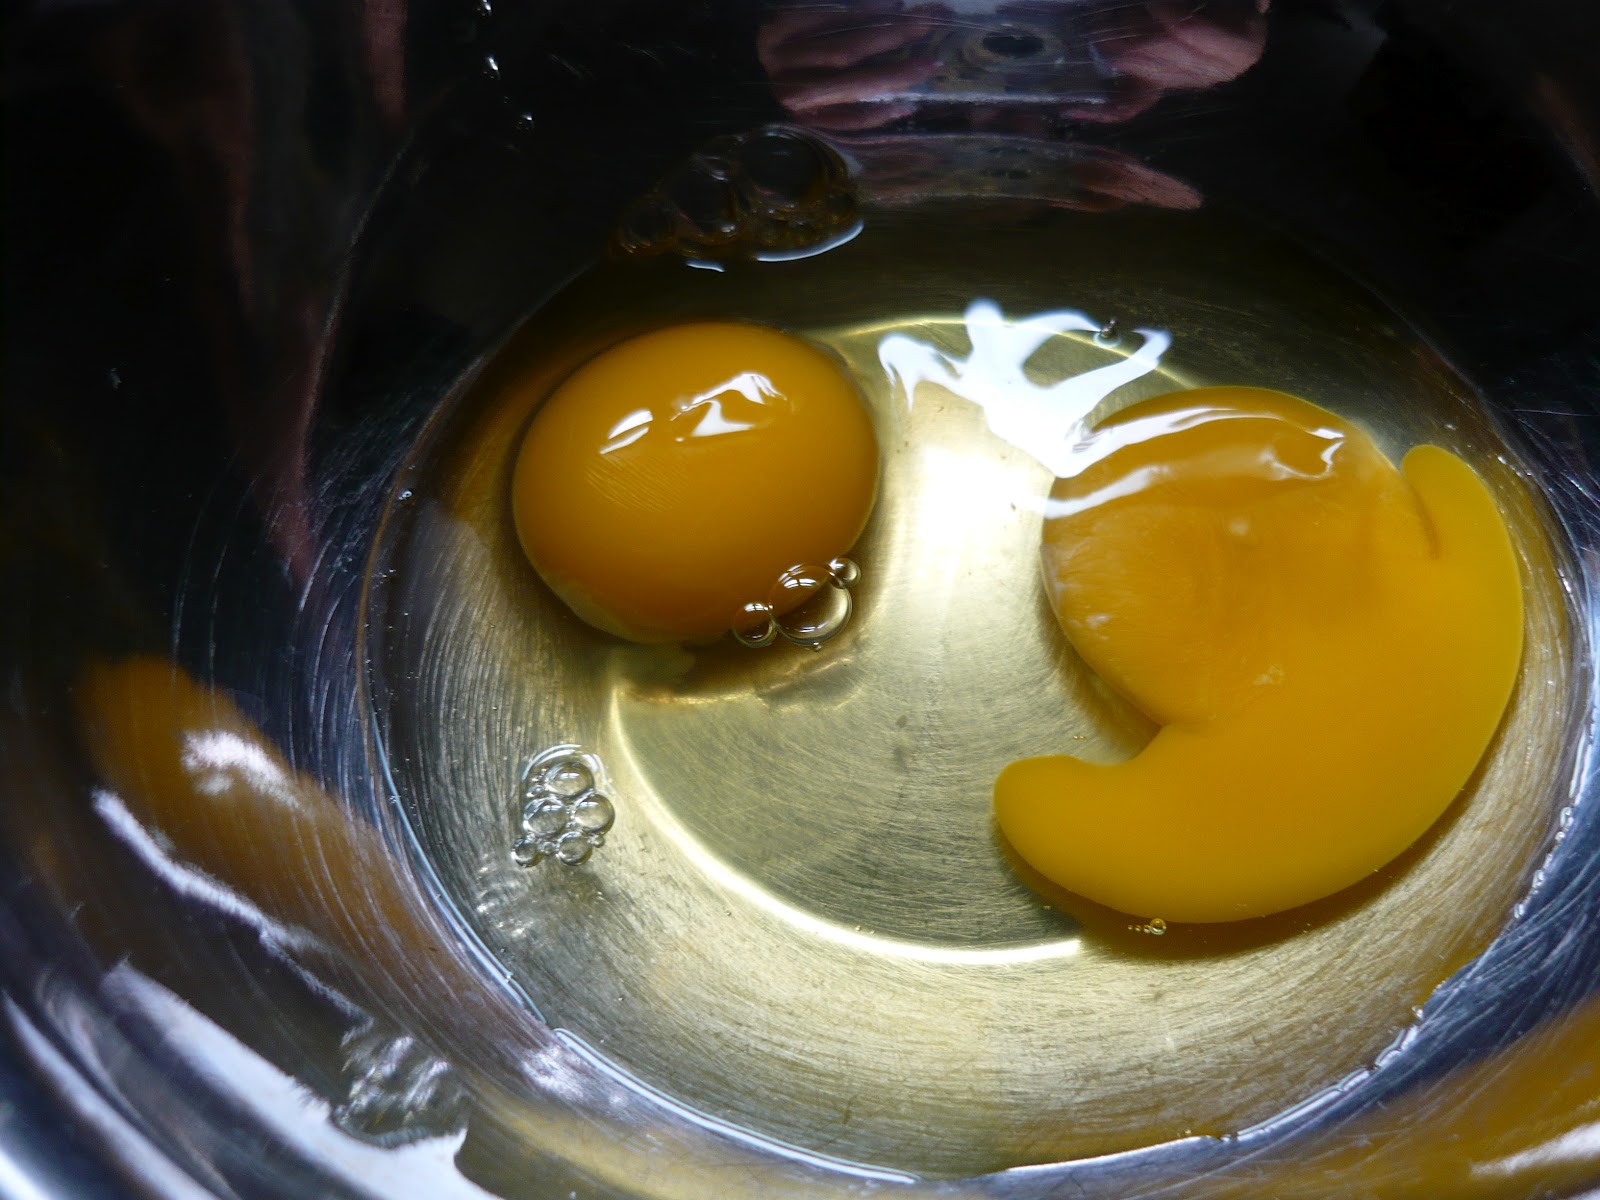

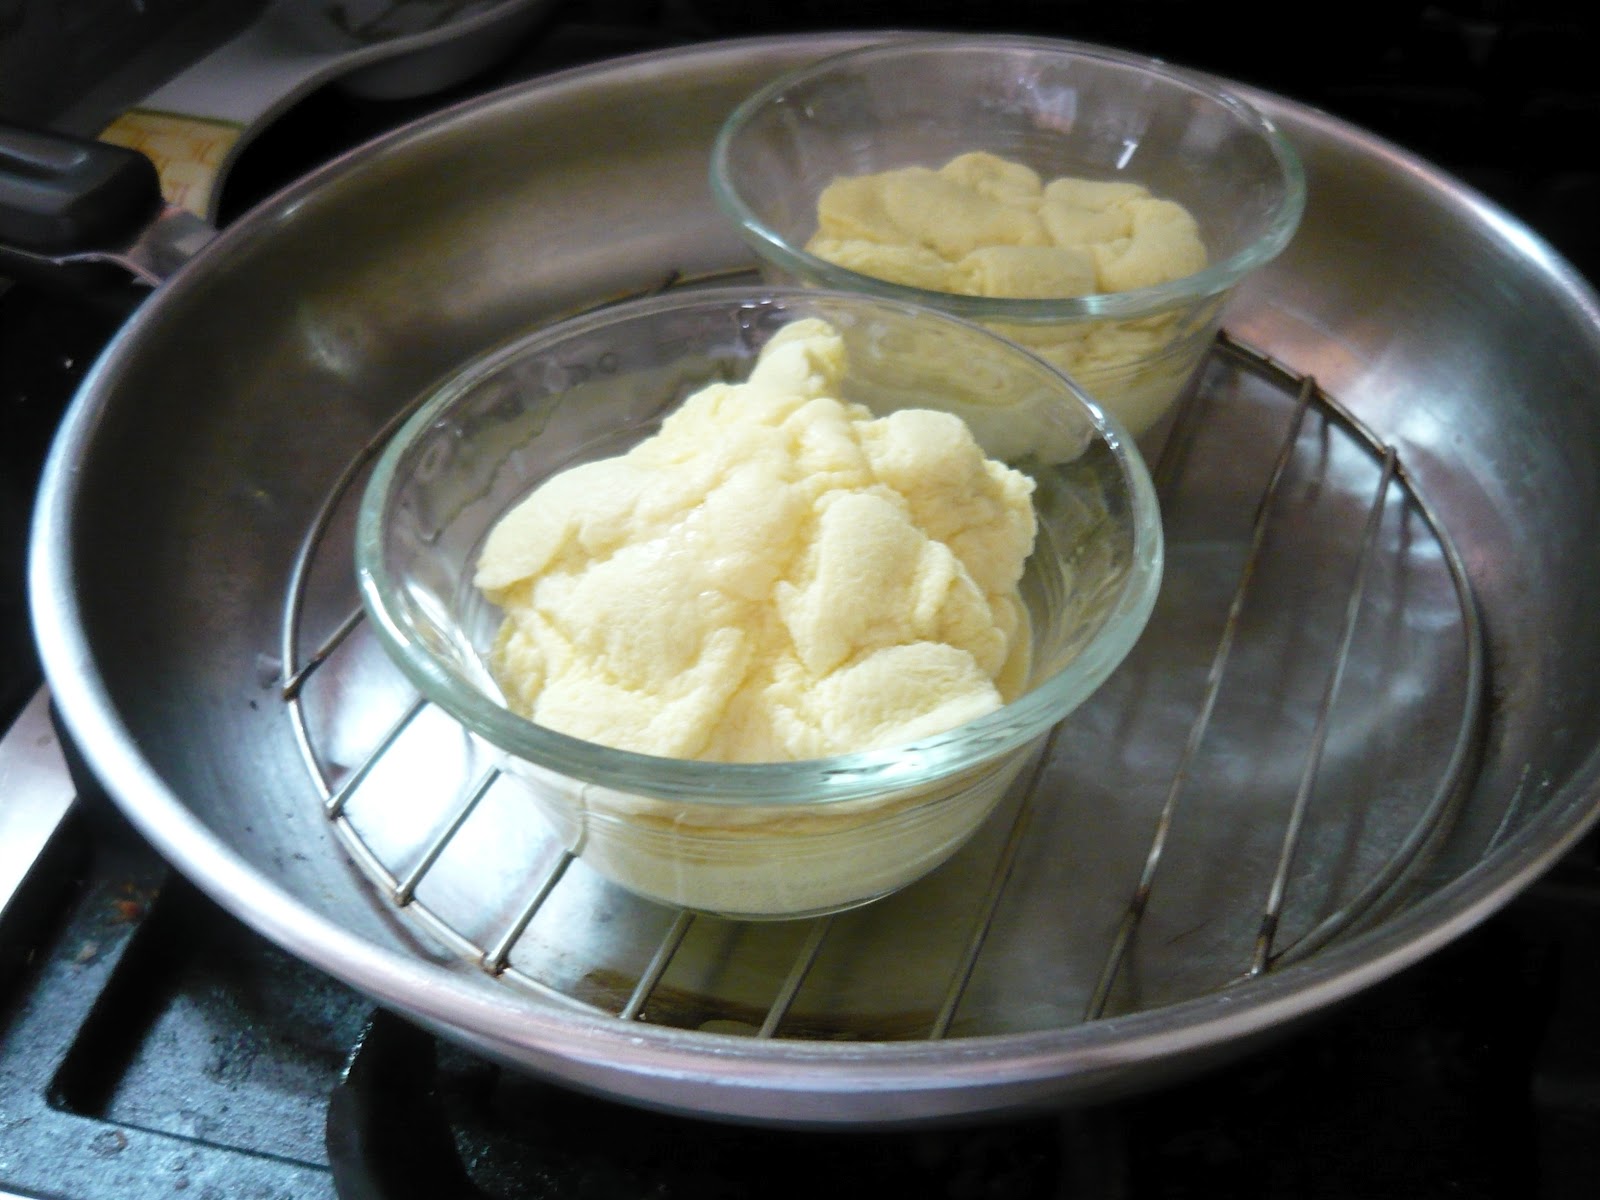


Also, it was not just egg, it was egg with other ingredients like milk.

So today I decided I wanted to make a steamed sweet bread.

In fact, I have just finished making it, and it looks good. So here's a recipe guys [REALLY SIMPLE ;D]:

  • 50 grammes of milk
  • 1 egg
  • 50 grammes of flour
  • 40 grammes of sugar
  • 1/2 teaspoon of baking soda
And good news, even if it smells like you oversteamed it, just let it sit until the smell goes away. It's pretty hard to mess it up, which is good for people like me that get distracted easily. Also, I made this just a little sweet, so you can make it sweeter if you want, but this bread must be something traditional since my mom told me it is like a taste from her childhood.

This generally makes 2 little steamed breads.

Place your egg and milk into a bowl and beat them.

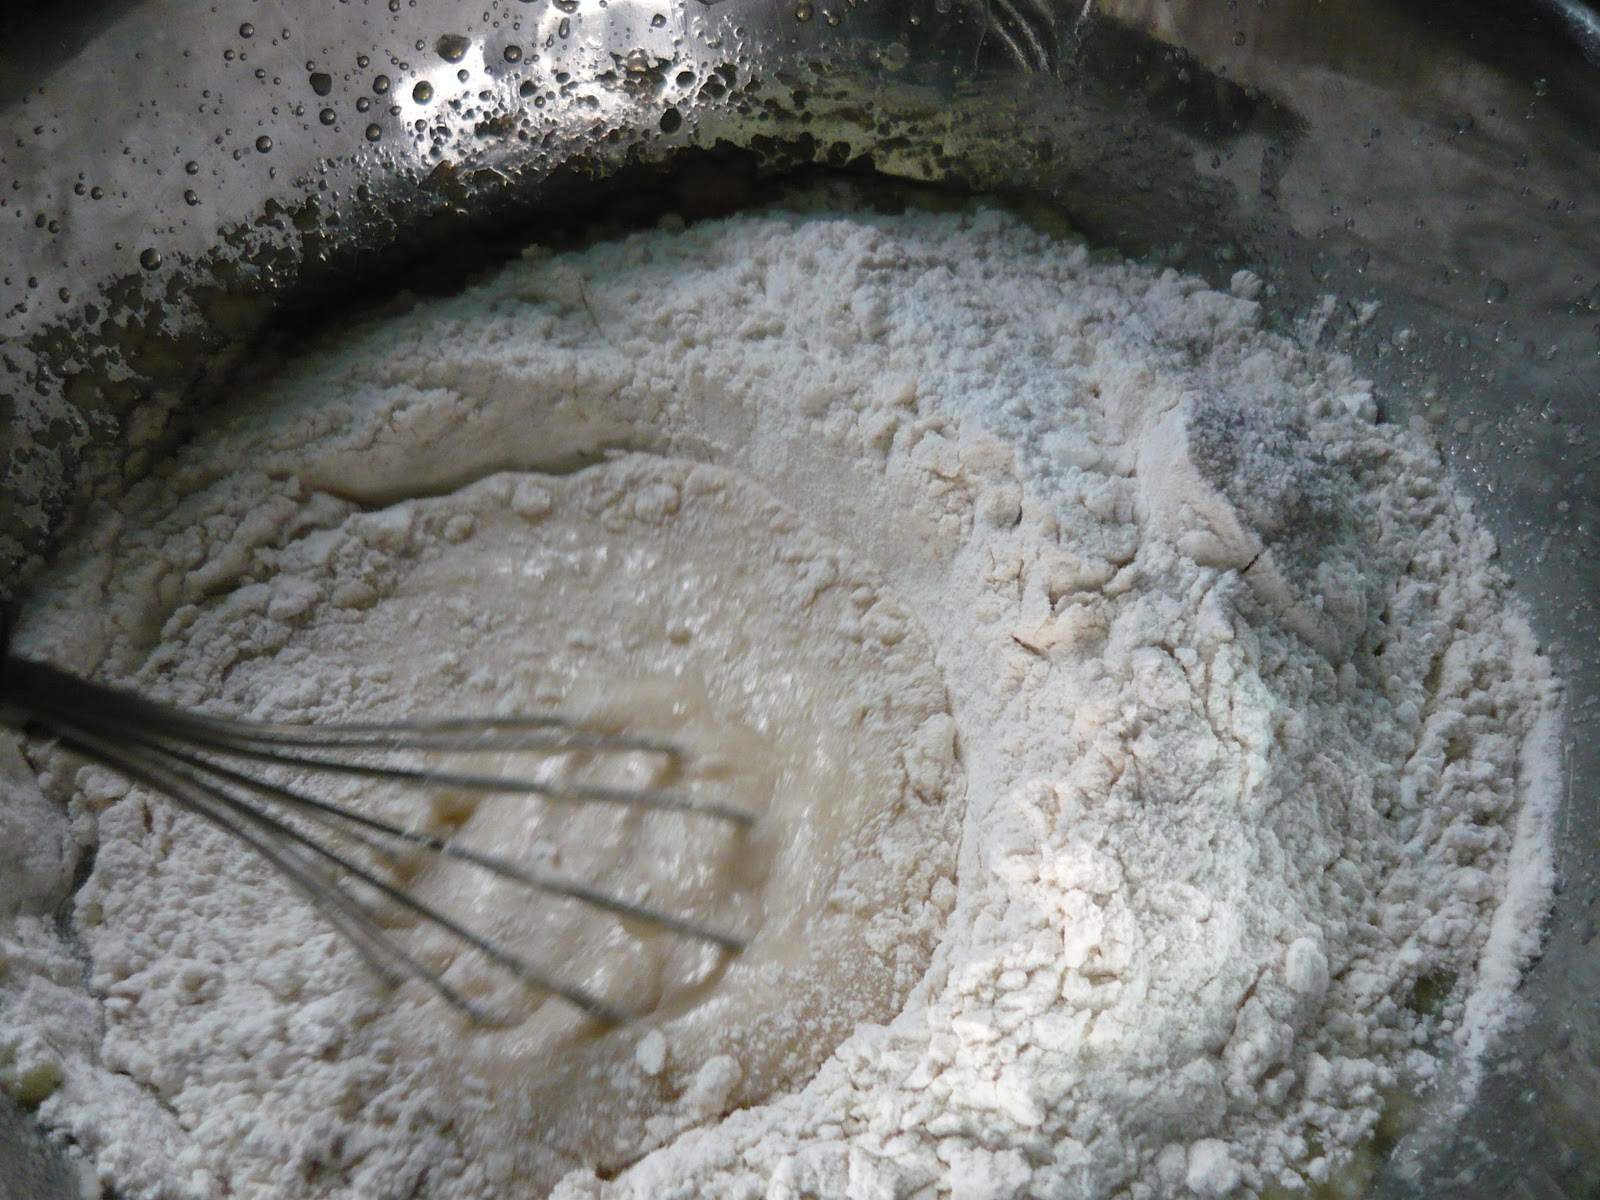
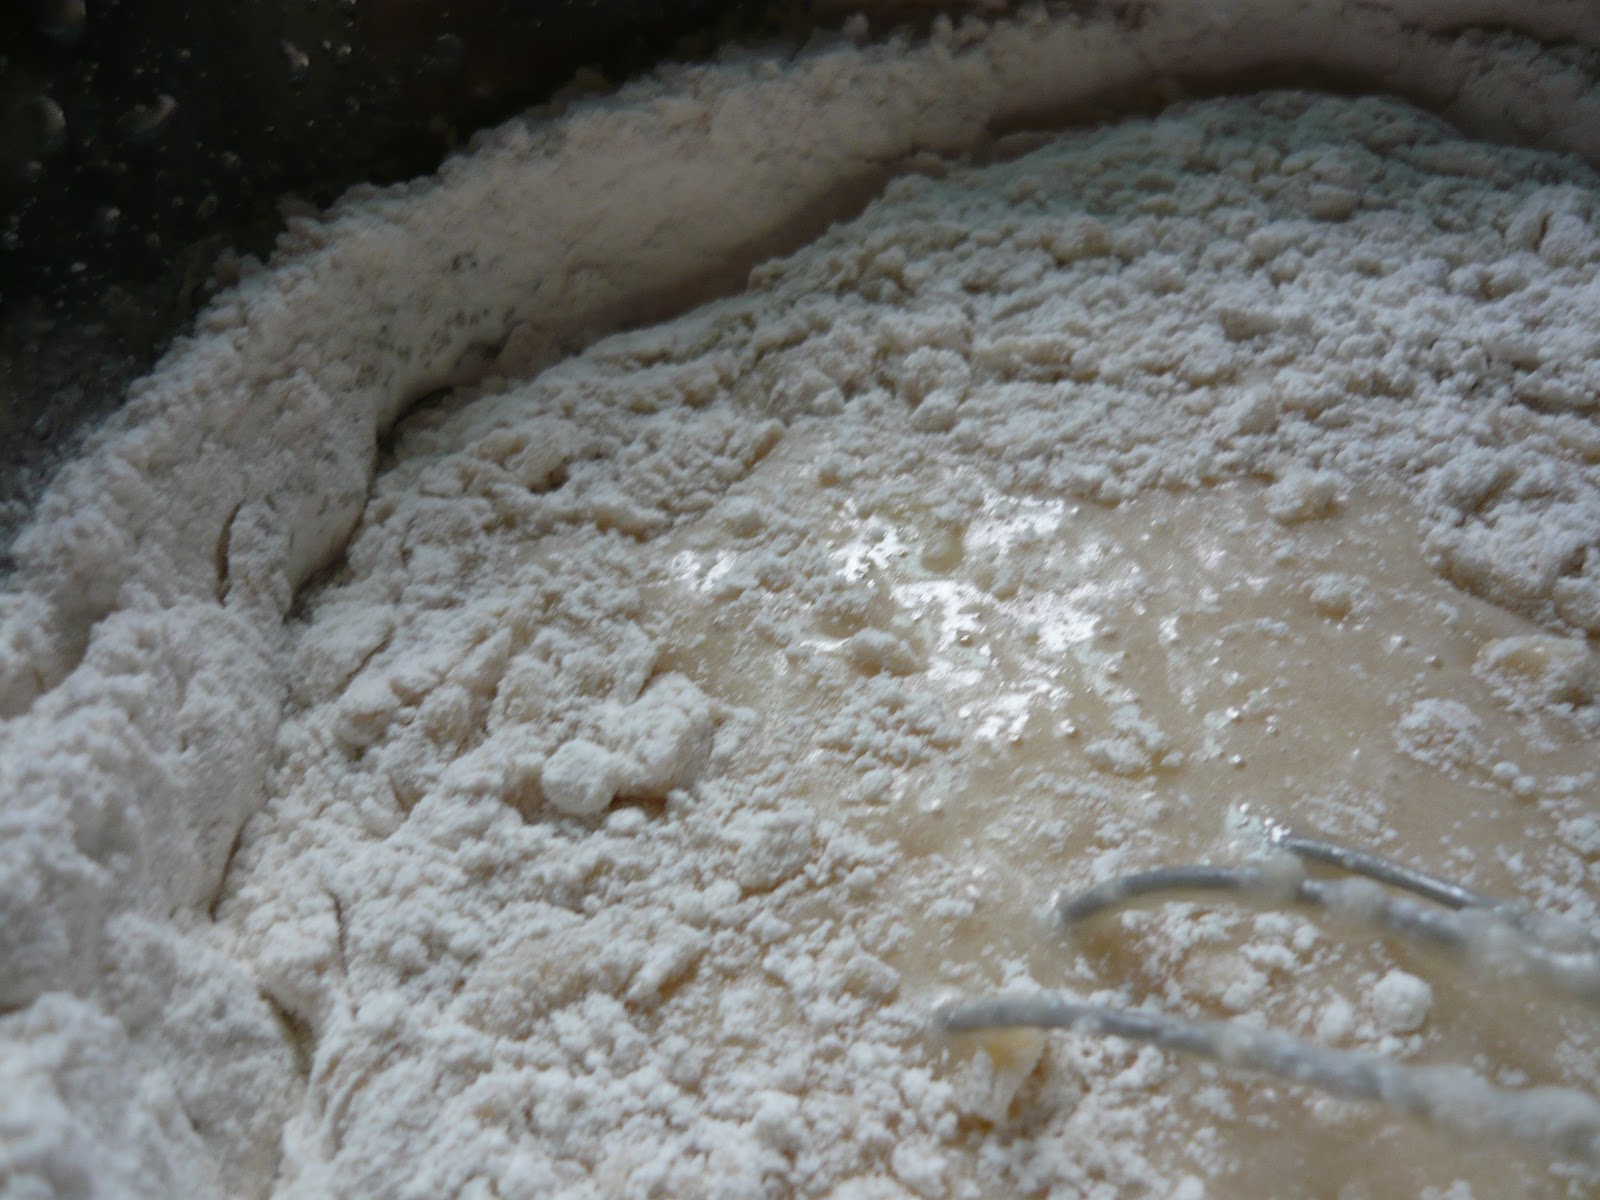
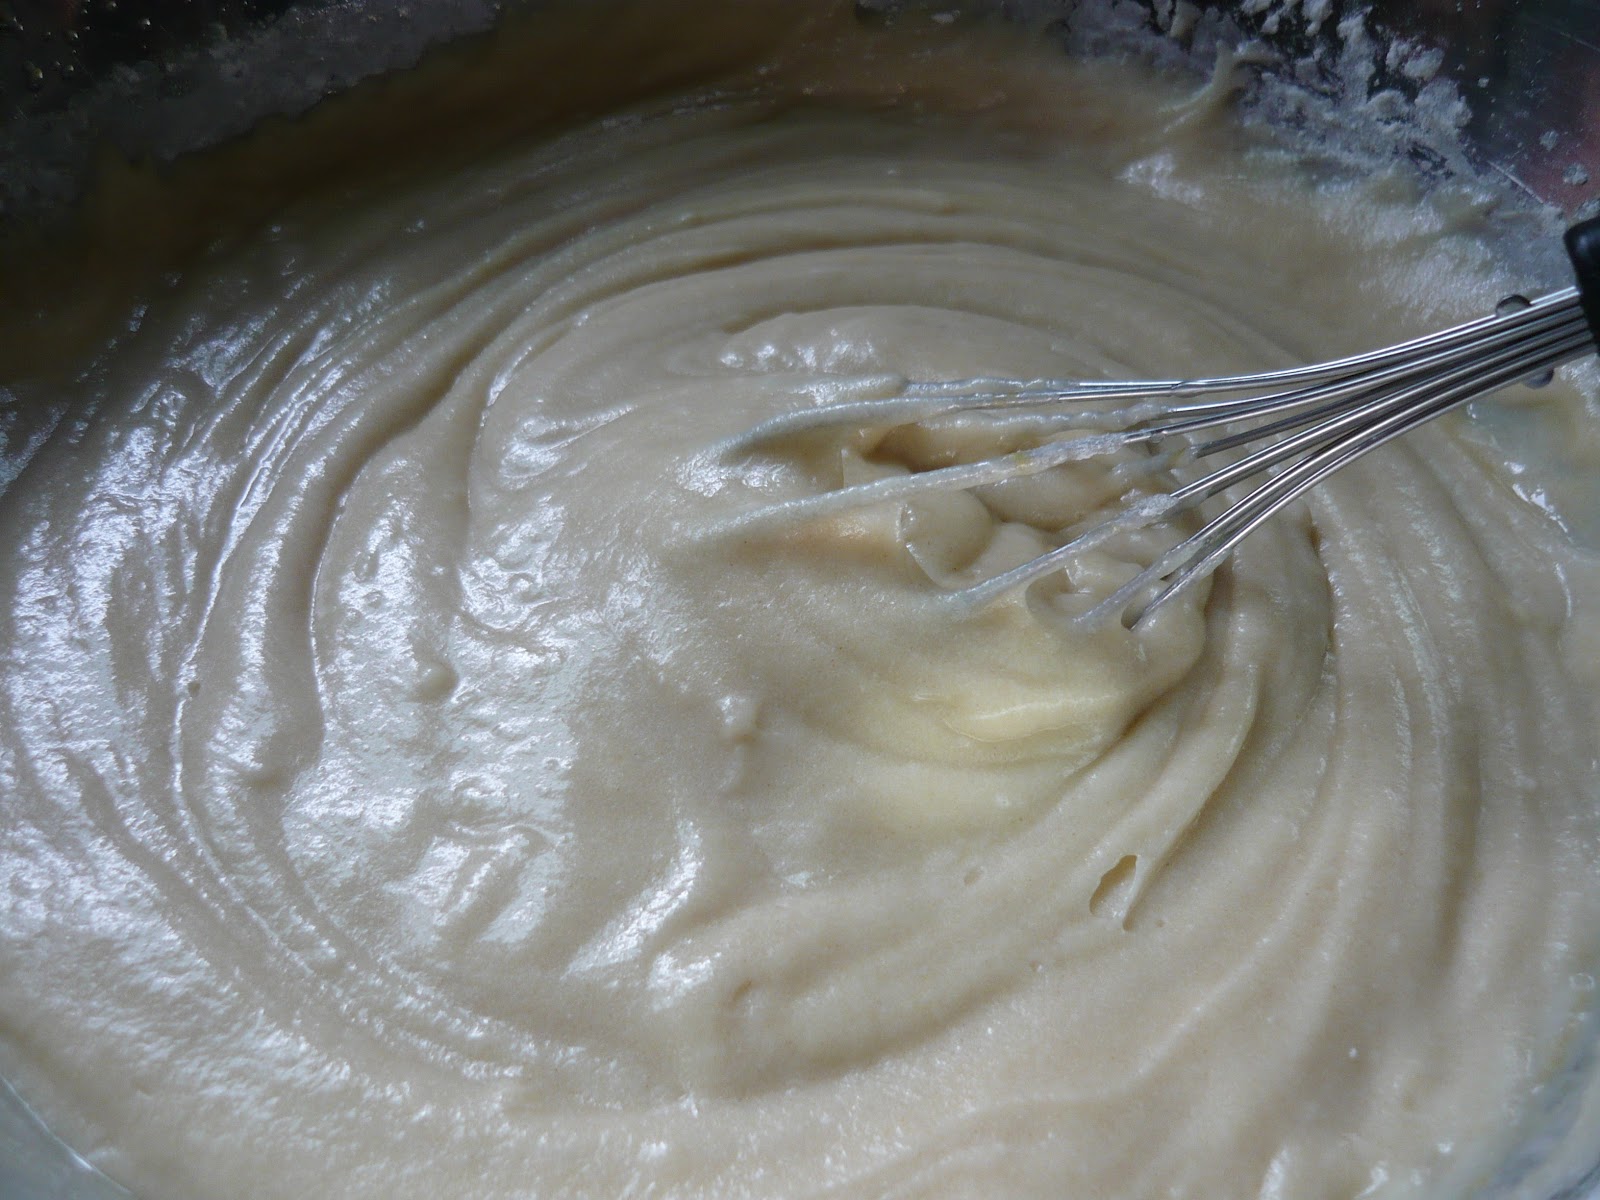
Then add your flour and whisk to incorporate.

Once the flour is mixed in, beat in the sugar, followed by gently stirring in the baking soda.


Place a cupcake liner into a small dish, one that is ovenproof, and then pour in the batter. You can pour the batter up to 1-2mm away from the top of the cupcake liner. 

Boil water, and once it starts to boil, place a rack into the pan for steaming. Place your bowls onto the rack, and steam for 15-20 minutes, or until you can stab it with a toothpick and it feels solid all through.


Steam away!!

Sweet Pea

Saturday, June 2, 2012

Banana-rama: Guest starring ripe bananas, again!!

Hello reader,

Do you know what Beethoven's favorite fruit is?
BA-NA-NA-NA!! (to the tune of his 5th symphony)

I am so close to finishing off these ripe bananas...they are so close to being squished by delicious oranges in the fruit bowl...
Grrrr...you spotty bananas!!

Today we're shining the spotlight on ripe bananas for a second time, and making Banana Cookies :D
Original recipe here.

Now for the Sweet Pea version!!
You will need:


  • 1 1/2 sticks of butter at room temperature
  • 150 grammes of brown sugar
  • 2 ripe bananas
  • 250 grammes of flour
  • 1 teaspoon baking powder
Start mashing the butter, and once mashed, mash in your sugar. The sugar tends to have a hard time getting mashed in all the way, so once it's mostly mashed in, stir it in.


After, add in the bananas the same way that the brown sugar was added...I'm not including a picture because it doesn't look to great at this stage. But it sure smells good :)

Once you are done adding bananas, pour the flour into the bowl and stir until incorporated. Then, as usual, the baking powder is added last. Why is it added last? That's because I tend to alternate between baking and watching tv, so if I added the baking powder in the beginning it would start to get fluffy before it needed to...then again, if you do your baking in one continuous session, then feel free to add the baking powder.


You can frost if you want to, I modded the recipe from the same source (basically simplified it to make life easier ;] )
Frosting~ Sweet Pea version:
  • 2 tablespoons of butter
  • 3 tablespoons brown sugar
  • 2 tablespoons milk
  • 1 1/4 cups powdered sugar
Place the butter in a saucepan over low heat, and let it melt. Once melted, add the milk and brown sugar and wait for it to boil.

Once it boils, take it off the heat and add the powdered sugar, stir it in, but don't beat it.

If you did it right, your cookies should look like the ones on the left.


Note: If the frosting seems too thick, don't just continue and frost the cookies like dum-dum (me, lesson learned), thin it out with a few drops of water. Don't add too much at one time, otherwise there goes the frosting. Add a little at a time.

The cookies are cake-like and oh so fluffy.

Go bananas!!

Sweet Pea


Wednesday, May 30, 2012

Old Bananas? FEAR NOT!!~~ A lesson on banana cake

My house smells like bananas...
SWEET PEA'S HOUSE 17:30 WEDNESDAY AFTERNOON


Oh, hello reader, how are you today?
Do you have spotted bananas in your house like I do?
Do you question what to do with such bananas?
Or do you scarf them down in an attempt to rid yourself of them? (like I do with most leftovers XP )


Well, FRET NOT, dear reader, for today is that day when that problem is solved.
The solution?
da da da da...
BANANA CAKE
(Did you read the full title? In that case you probably weren't surprised.)


Note: this recipe is a modification of plain vanilla cake (not mine) HIGHLY EXPERIMENTAL


Warm up your oven to 350 degrees (Fahrenheit)

Note: This took my about 3 hours to make, including the time I stopped to do other things, start to finish


Be sure to grab:

  • flour 200 grammes
  • sugar 200 grammes
  • butter 1 stick (aprox 115 grammes)
  • eggs 2
  • milk 120 mL
  • baking powder 2 tsp
  • bananas 2-4 depending on how much you like bananas ( add an additional 50-75 grammes of flour if you use 3 or 4 bananas)
Allow your butter to warm up to room temperature, then mash it with a fork. I know that the last time cake was made I mashed the butter with the sugar, but it's easier if you mash the butter alone, then add the sugar. That said, when you're done mashing the butter, mash in the sugar.


After mashing your sugar and butter, mash in the bananas, followed by stirring in the flour.
When mashing the bananas, mash them as finely or coarsely as you like--just know that they get more liquid the more they are mashed.

Weather changes the conditions of cooking, and if you find your mixture stiff, mix the milk then flour; if you find it more loose, feel free to add the flour first.

Note: Today I have been consistently 5 grammes off (with the sugar and flour)


Mix in your eggs, and milk if you haven't already, and feel free to add a dash of vanilla at this point. You may now add your baking powder, and after stirring thoroughly, pour your cake into your baking pan of choice and bake for 30-40 Update/Correction 45-55 minutes.


The cake browns like a waffle...and it browns a lot...I suppose if you don't want it to brown so much, you could loosely cover your pan with a tin foil tent.

The cake is remarkably fluffy, almost as much as sponge cake--currently fresh out of the oven.


The cake is undone, so I flipped it onto a plate...it's uncooked on the bottom...the plate is oven safe, into the oven it goes.

15 minutes later...
It's all good. (Correction made, see strike-through).

Looks like a cheese round, haha


Brown Bananas Bake into Banana Bread cake (:
(try saying that 5 times fast, haha)

Have fun making and baking (and enjoy my tongue twister)

Sweet Pea

Saturday, May 12, 2012

Zinfandel Cake

Hey guys, this week I've been running low on creative cooking juices, so I've been taking suggestions. This one is from Nicole :)


Originally she suggested rum cake, but I haven't any rum in the house, so I've decided to use some zinfandel instead.


The recipe for the cake I'm making is an adaptation, or rather a hybrid, of this Golden Vanilla Cake and Mariann's Easy Rum Cake. It is actually neither of these recipes, but like most of the recipes I use (for now and in the future) it's going to be something of my own creation in the end (:


Letting the butter warm up


I would suggest that you decide to make this cake at least an hour in advance of when you want to start mixing and measuring so that you can take your butter out of your fridge and give it time to warm up to room temperature--also do this for your milk. This makes a huge difference in making the cake, it will be much easier for you. You will need:


  • 1 1/2 sticks of butter (3/4 cups of butter, or about 170 grammes)--I used unsalted, you may use salted if you wish
  • 397g/14 oz./2c of sugar
  • 283g/1 1/4c milk at room temperature
  • 2 tsp vanilla extract
  • 2 1/2 tsp baking powder
  • 390 g/ 3 1/4c of flour
  • 4 eggs
  • 1/2 c of zinfandel or spirit of choice (rum would work as well)
  • 1 package of instant pudding mix, I used vanilla


Note: If you want, before starting to mix the ingredients--but after letting to butter warm up--you can preheat your oven to 325˚ F. I find it's easier using a scale because there is less measuring with cups since you pour directly into the bowl, and to make it less mess I use a big bowl.


Be sure to zero the scale before weighing ingredients


Once your butter is at room temperature, like mine is, then you should add it to the sugar and mash it like mashed potatoes--well, not necessarily mash, but just incorporate it. My weapon of choice is fork :3 You know that it is done once you see all the butter and sugar mixed together.


Add your sugar

Ready for mashing
While mashing, your butter sugar mixture should look something like mine did in these pictures.

Try to break up the butter into smaller chunks

If you mash the butter that's on sugar, they mix together without difficulty

It's so fluffy :D

Once you have a butter sugar mix that looks like mashed potatoes, or whatever you would call that, it's time to add the milk and vanilla, then mix it best as you can...at this point it would switch to a whisk...I did after a while of fork mashing.


Note: Mine didn't come out too smooth, so don't worry if yours doesn't.


That's not pretty...but that's the way it is, think oatmeal.


Now add in the flour and baking powder, and stir gently so that your batter won't be lumpy. I like to start stirring on the side in small circles and slowly make my way to the center of the bowl and start making larger and larger circles. You can stir any way you like, just know that if you beat it your batter is likely to be lumpy.


Here's what I mean:


Starting on the side in a little circle

Making bigger circles now

The flour piles up on the sides, just scrape it down as necessary.


Afterwards, stir in the eggs one at a time. Sometimes the eggs are watery, which makes them easy to mix in, but other times they have a gooey part that is like jelly and harder to mix in--watch out for this and this egg will take longer to mix in completely.


Note: It's good to check your eggs by cracking them into a separate bowl, just in case they smell...fishy...like one of mine did.


The batter is lumpy before the first egg

First egg added, batter smoother, bit lumpy

Second Egg added, batter smoother

Third Egg, batter smooth

Fourth Egg added, so silky smooth!!


The eggs make the batter nicely colored, and also smoother. I add the zinfandel (mine is a white zinfandel from california that smells faintly fruity and sleepy). This will make the batter separate a little bit, but don't worry too much about that. It will be coming together later. My batter was a bit more liquidy on the sides of the bowl so I made inward strokes with my whisk to incorporate the zinfandel more into the batter.


Pour slowly, don't spill

Stir slowly since it's easy for splashes at this point
After adding the zinfandel (or spirits of choice) your batter should look something like this.


Not quite so smooth, but still smooth

This is what I meant by separation, looks a bit like curds


Then I add the instant pudding mix and stir it in gently, just like how I stirred in the flour earlier. After a few minutes of stirring the batter has a uniform yellow color and it is ready to be put into the bundt pan (if you haven't already, preheat your oven to 325˚F).


I use Jell-O pudding, in case you're wondering

Stir gently or else it will be lumpy

Golden color :)


Note: I don't like struggling to get the cake out of the pan, so I sprayed the inside of my pan with cooking spray (every nook and cranny).


If you don't have cooking spray, you can also make a coat of butter inside, and sprinkle a layer of flour over that
Pour the batter into the bundt pan and make sure that the top of the batter is even, otherwise one side of the cake will be taller than the other. Place this into the oven and bake for 55 minutes. You can check if it is ready to take out of the oven by inserting and removing a skewer, and when the skewer comes out clean the cake is ready. If it isn't ready after 55 minutes, it should be ready after an hour.


Tilt the pan left and right to even out the batter


Note: If you use a toaster oven, and the bundt pan fits with less than 3 inches at the top, it's likely that the top will be a little burnt, like mine. This is because the heating element is so close to the cake, and if you're using a toaster oven like I did, it can't be helped. Just saw off this part with a bread knife after the cake cools.


After taking the cake out of the oven, let it cool for 30 minutes and up to an hour. You want the cake to be faintly warm, or not warm at all, when removing it from the pan.


Mine didn't come out of the pan nicely D:
(That's likely because I washed it before spraying it, and the water prevented the spray from forming a complete barrier on the pan--make sure your pan is dry before use folks.)


But it TASTED DELICIOUS <3


Little piece all wrapped up, tender cake.


<3


Happy Eatings,


Sweet Pea

Thursday, April 26, 2012

Sweet Soup: Sai Mai Lo

Okay, I admit that it's not actually soup, but it is a delicious soup like dessert. And the other reason I call it sweet soup is because for the longest time I had zero clue as to what is was actually called. So yesterday, after having learned its name a on Monday, I made it!! (yes, yes, late post but I was quite busy)


Sai Mai Lo, good to eat while watching favorite TV show ;)


Before I get into how it all boiled down, I'd like to give credit to Kirk who writes Chinese Homemade Cooking for his Sai Mai Lo recipe and instructions; I adapted his recipe and used his instructions (more or less, probably less since my laziness makes me improvise xP).


I used...

  • 4 medium sized small taro
  • 1 cup tapioca
  • 1 can sweetened condensed milk


First off, I have a confession. I never bought taro before. I'm not sure if taro type matters, but I used little taro. I'm not sure if I made a good selection buying it, and can't really give advice on how to buy taro; I just asked one of the store people how to pick good taro and he just gave me a few~~so I don't really have much to say on buying taro (I'm so new to taro :/ ). What I can tell you (er--at least a few New Yorkers), is that the taro from New World Mall in Flushing tastes fine so if you want to replicate this to a tee, that's the place to go.


Taro. They're hairy like coconut.

The first thing that you must do, as with all your fruits and veggies...or roots...is wash them!! And so I did.
Afterwards, I peeled them...my hands felt sticky and gooey from the white stuff that oozed from the taro. My mom said they smelled earthy (note: when people say earthy, it usually means it smells like wet grass and dirt).

Peeled taro, slightly sticky
Taro looks a bit like potatoes

Next I went about cutting the taro into medium sized cube-ish pieces.

The inside appears a good deal lighter then the outside, even with the skin peeled

All done!!


Now that I've cut the taro, it's time to cook the tapioca. Mine is green. Making this little tapioca is the same process as when I made the big tapioca for bubble tea in this post, however you must watch it more carefully and stir more often because it will become stuck together really fast if you aren't keeping an eye on it.

I wonder what color it will turn out to be?

Close up of tapioca, this is my favorite color!!
 I suggest you stir frequently the first 5-15 minutes and keep a constant eye one it. After that you should be able to stir it every 5-10 minutes without worrying about it clumpling, but if you're really concerned about clumping then you should stir it and check every other minute or so. Also, I added 1 cup of water when the water got really starchy and hard to see through.


Don't forget to stir or else it will start to clump like mine did (not good)
 I cooked my tapioca until there were only little white dots left in it. Then I spooned the tapioca into a mesh strainer and put the strainer in cold water, to stop the cooking, then dump it into a bowl.


My bowl of tapioca, looks like fish eggs :O...or maybe frog eggs since they're green?

Close look at tapioca, now it really looks like eggs!! @_@
I then boiled my taro. I boiled it until it was firm, but easy enough that I could poke a fork through it. It was not so soft that it crumbled when I poked it with the fork. 

Note: I used the water from the tapioca to boil the taro in because I want to keep the starchy water. I think it helps to make the end result thicker. You could dump it and use new water if you want though. The water that boiled my tapioca and taro also became the water for the sai mai lo (my sweet soup, as I call it).


After the taro is cooked, I mashed it until I had pieces that are about 1cm or smaller.


Mashed tapica, like mashing potatoes but smells a little different. I used a fork to mash it.
I kept me tapioca/taro water and brought it to a boil and prepared to add my condensed milk, tapioca and taro.
All lined up and ready to go!! Having it by the stove top makes preparation time less.
 While I added the condensed milk I was stirring constantly so that it wouldn't burn to the bottom. I kept stirring constantly until the condensed milk was completely dissolved and the color looked smooth and uniform. I then added the taro and stirred until the mashed up parts were mostly dissolved and the chunks were broken up (they kind of stuck together after I mashed some of the taro).
Note: I kept the fire on medium to medium-low since there is a good deal of sugar in the sweetened condensed milk--aka significant risk of burning something.


So far, water, milk, and taro is in the pot.
Then I start to add the tapioca, I felt so excited because my sai mai lo is nearly done :)
Also, if your tapioca is sticking in a big glob, don't worry, mine did and it breaks up in the sweet soup while you stir.

Nearing completion ;]
Once it is done, simply turn off the heat, give it a stir, and have a bowl of sai mai lo!!


My hard work tastes delicious :D
Sweet things taste best when shared, give a friend a small jar of sai mai lo and they will be happy!!


Until the next recipe,
Sweet Pea